Instance
This document explains how to create an instance (virtual machine). An instance is a virtual server running in the cloud. Users can choose their desired operating system and configure the resources as needed.
Creating an Instance
This section walks you through the step-by-step process of creating an instance in OpenStack.
Basic Settings
Availability Zone
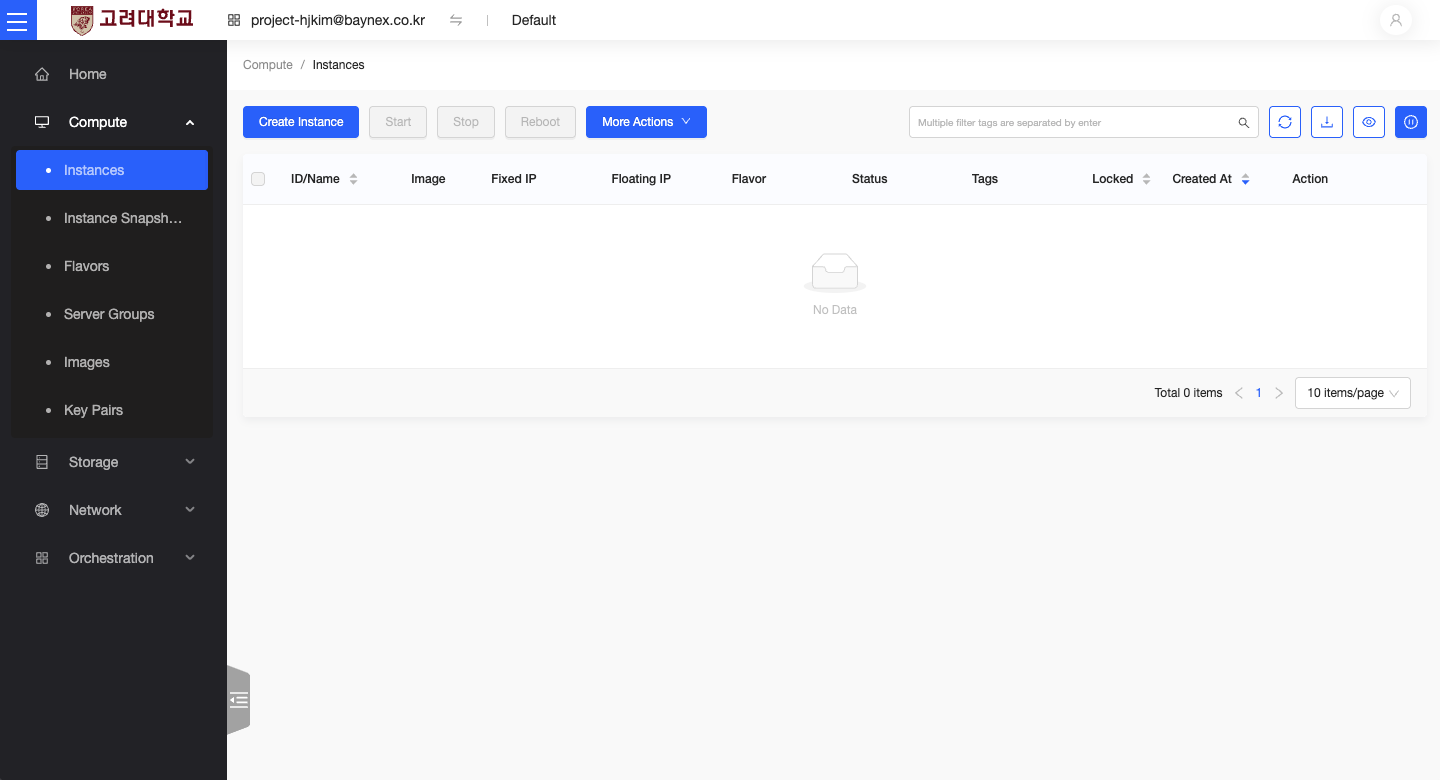
- From the left-hand menu, go to Compute -> Instances
- Click the Launch Instance button.
Availability Zone
- Project: The current project is selected automatically.
- Availability Zone: Select
nova.
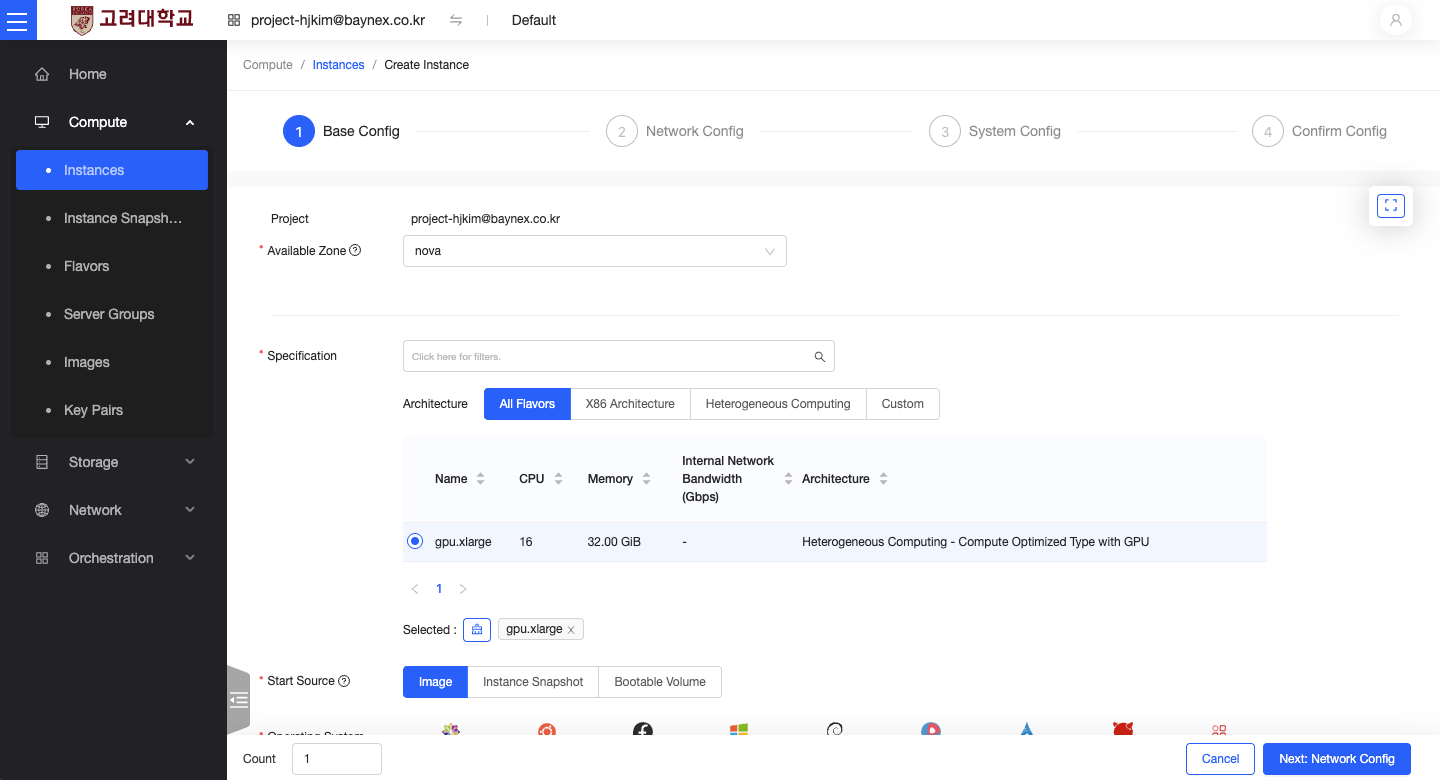
Select Instance Flavor
- Choose a flavor that fits GPU Cloud usage.
- In this guide, we select
gpu.xlarge, which provides 16 vCPUs and 32GB of memory.
Configure Source Image
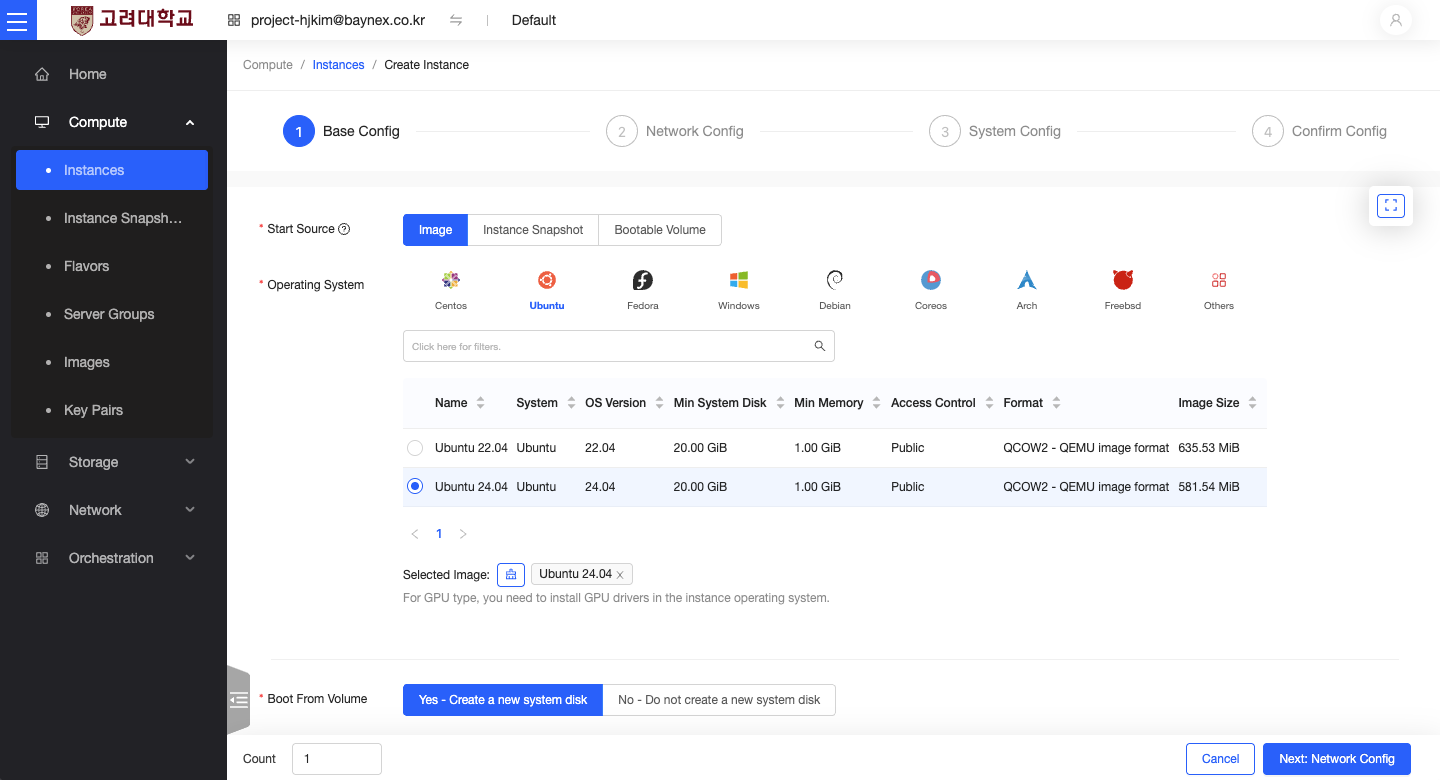
Choose Operating System
- Select your preferred OS (e.g., Ubuntu, CentOS, Windows).
- Confirm the image version.
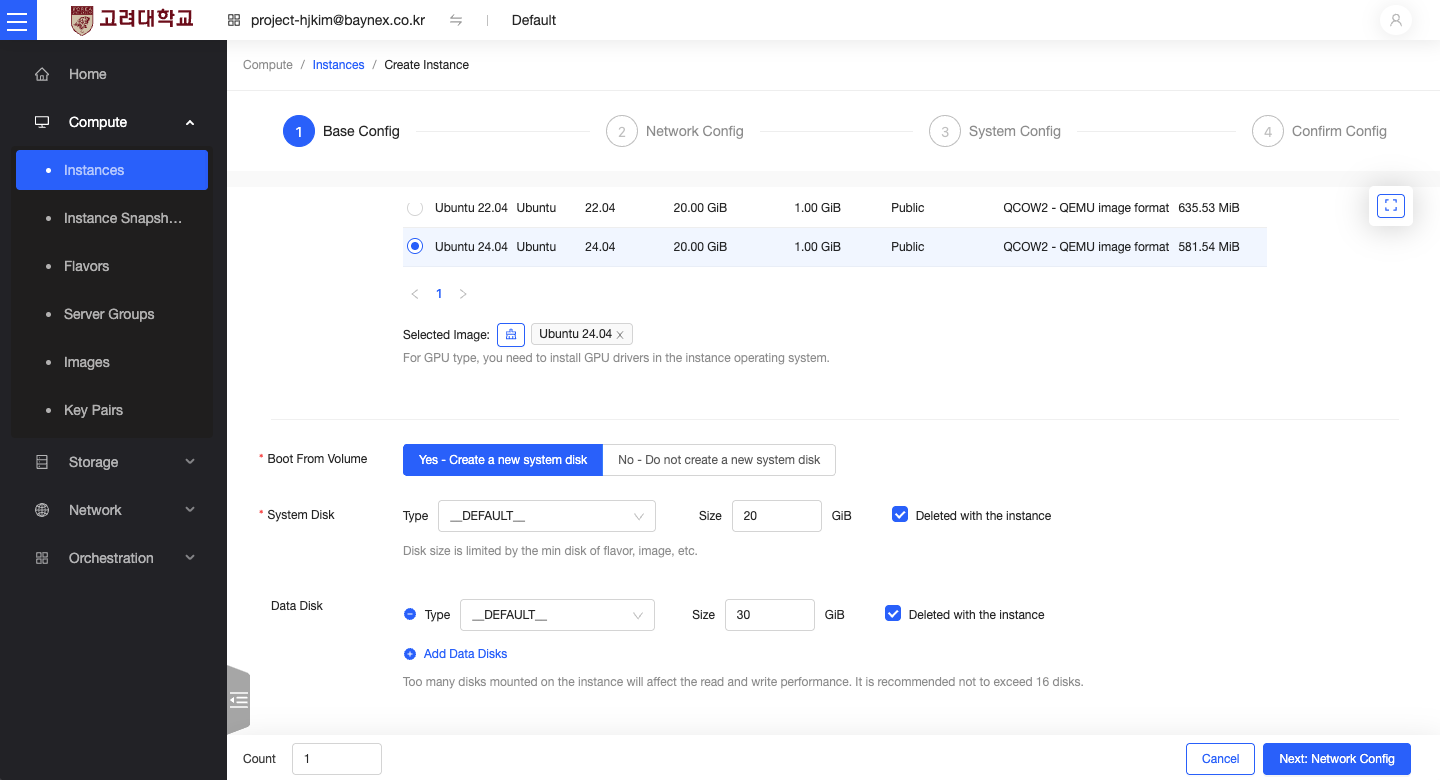
Set Volume Size
- System Disk: Set to 20GB by default.
- Data Disk: Add additional volumes if needed.
Configure Network
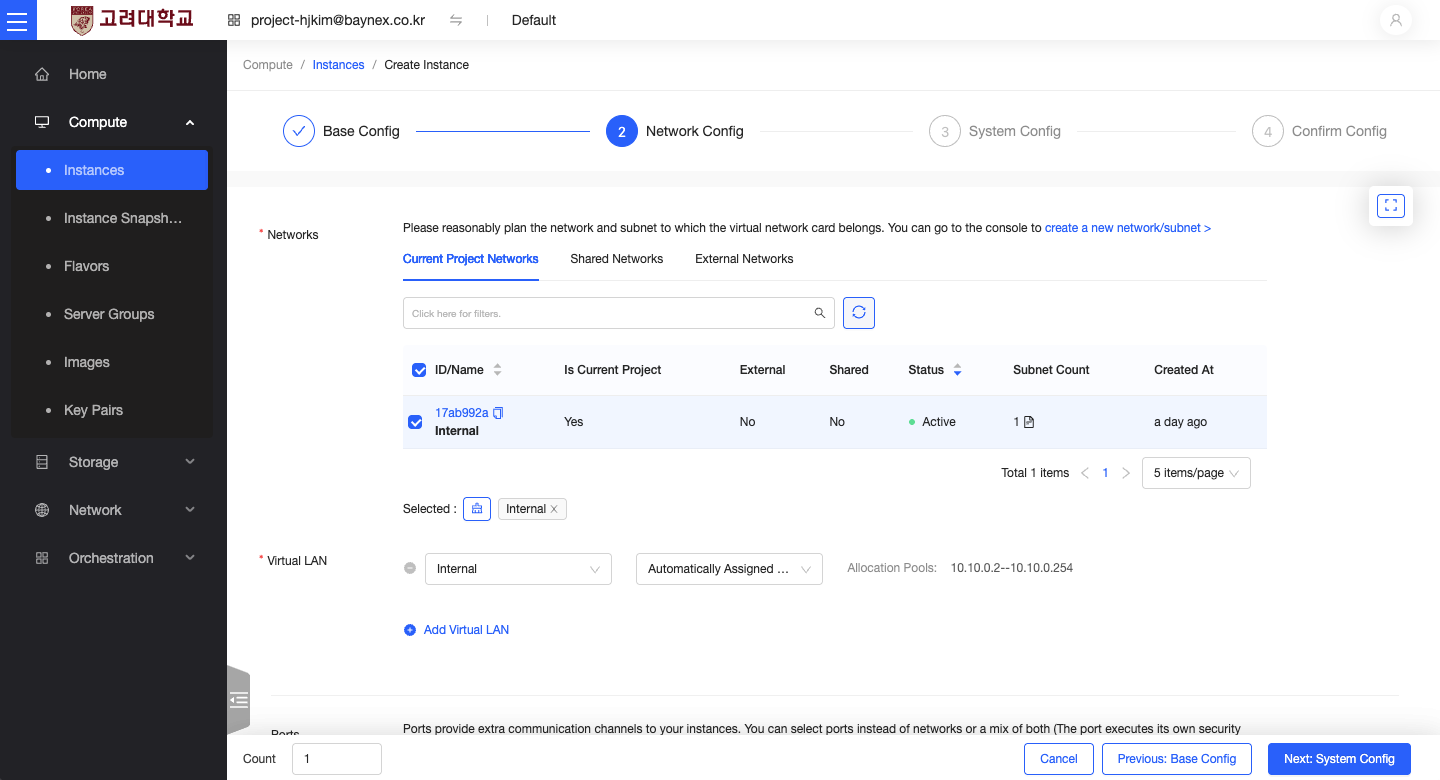
Select Network
- Select the
Internalnetwork.
Security Group
- The default security group
defaultis assigned automatically.
Configure Key Pair
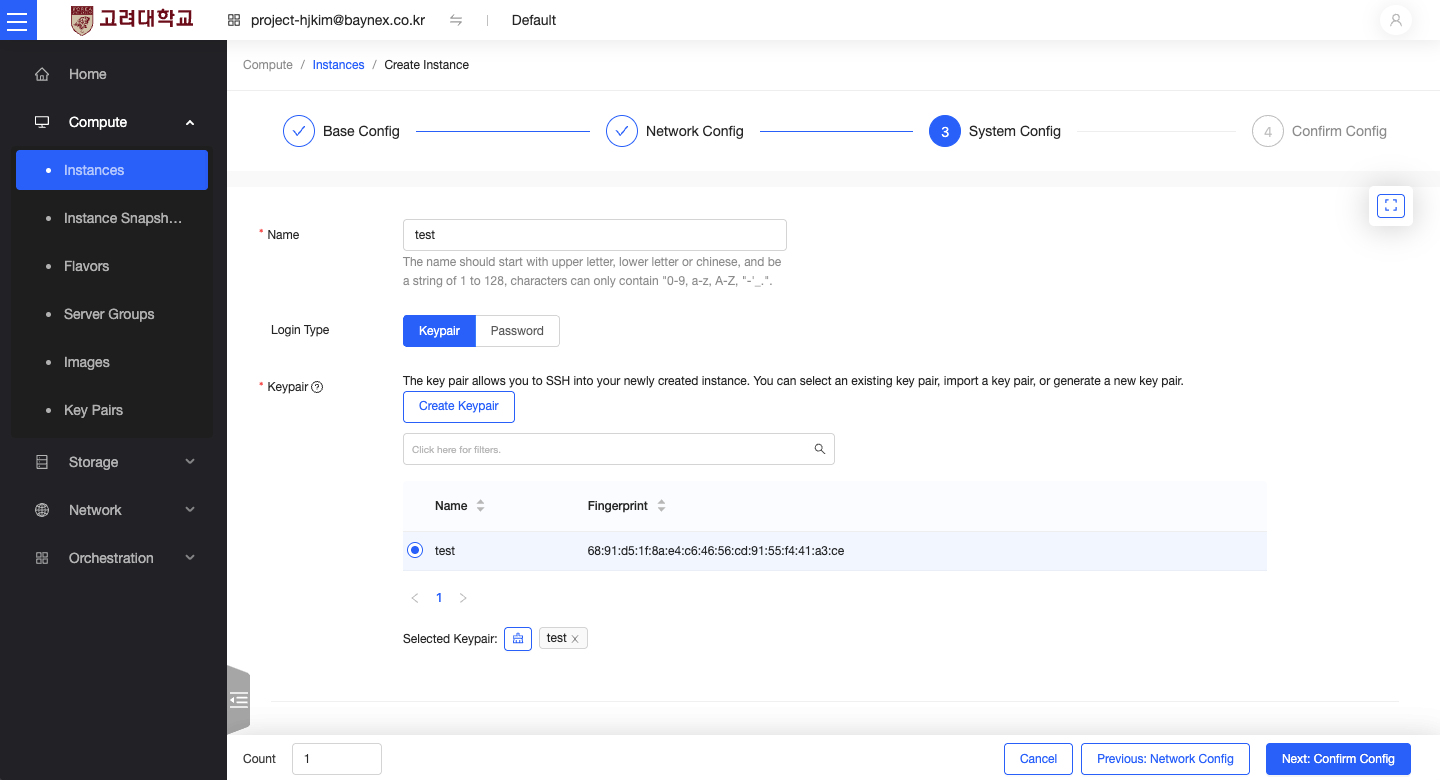
Set Key Pair
- You must set a key pair to access the instance via SSH.
- If you do not have a key pair, you can create one on the Key Pair Creation Page.
Review and Launch
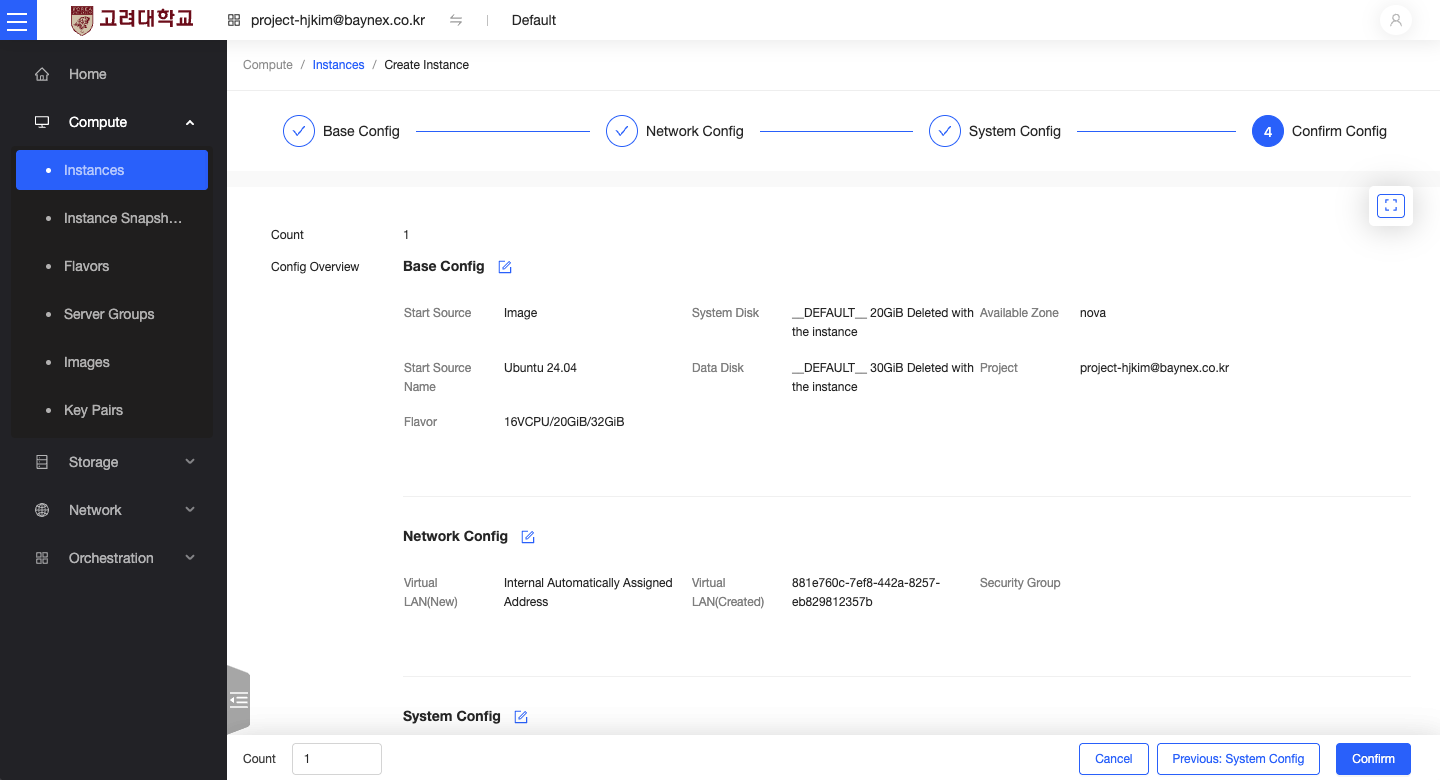
Final Review
- Review all the settings.
- Confirm the instance name, flavor, and network settings.
Launch Instance
- Click the
Launchbutton to create the instance.
Important Notes
Resource Quotas
- Check the available quota limits for your project.
Network Settings
- Make sure the security group rules are properly configured.
Assigning an External IP
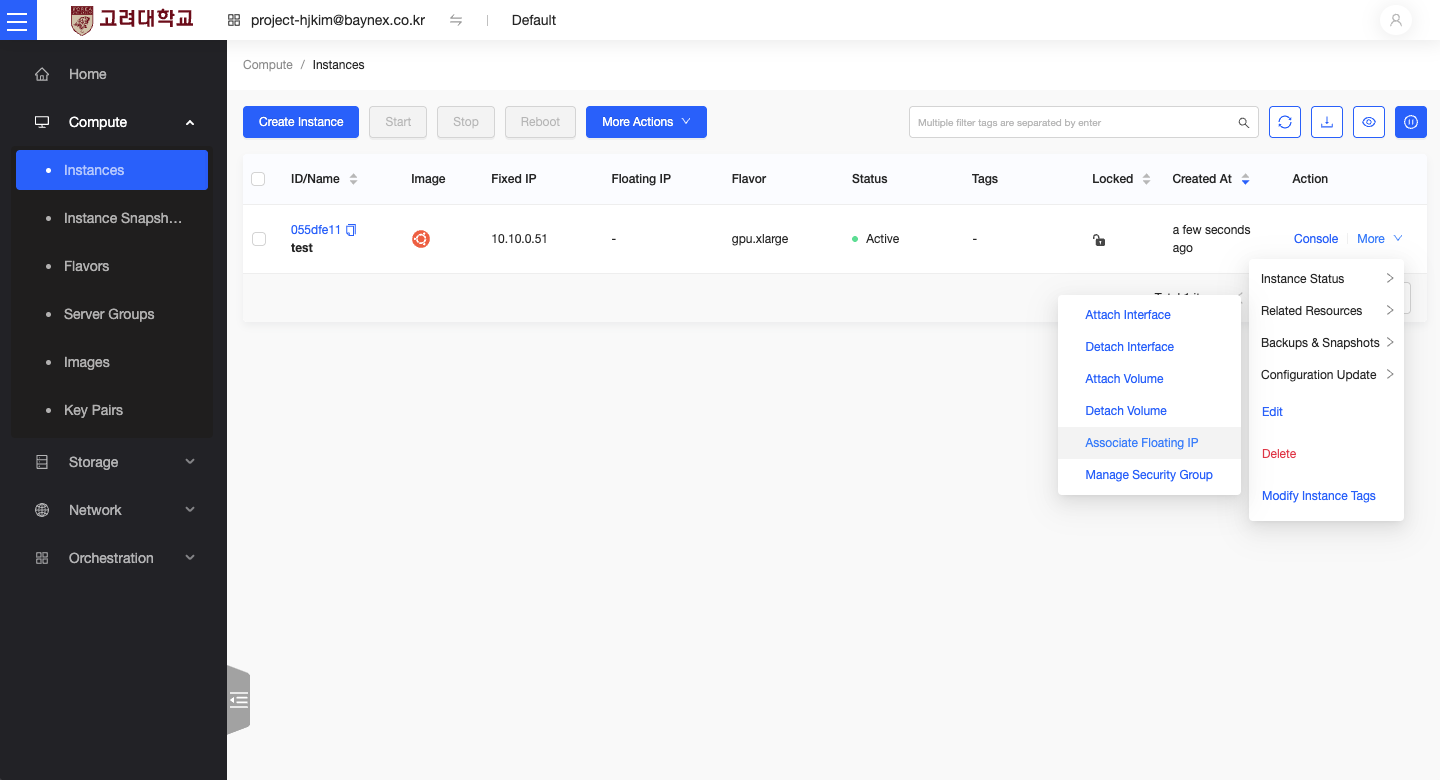
Associate an External IP
- In the instance list, select your instance.
- Click
More Actionson the right and chooseAssociate Floating IP.
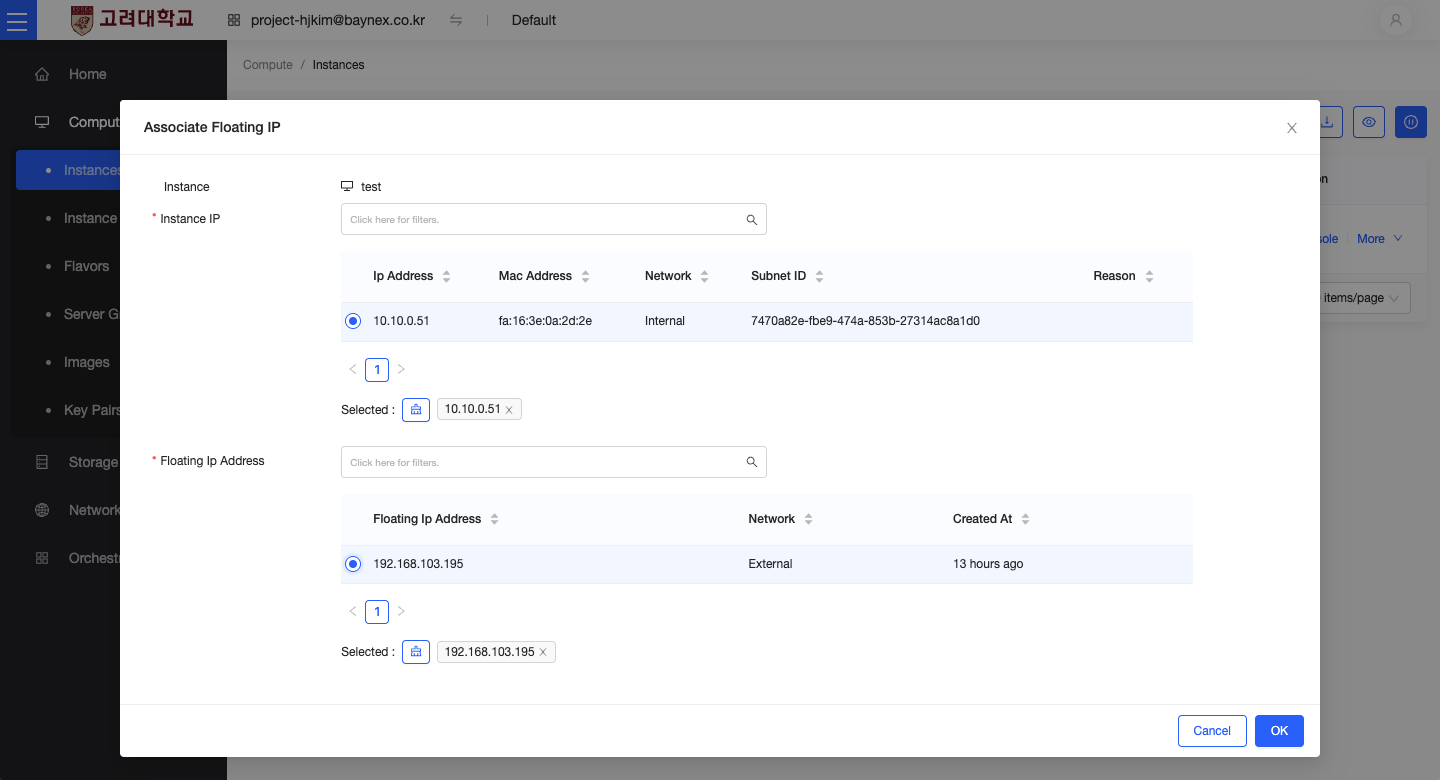
IP Configuration
- Select an available external IP from the external network.
- Click the
Associatebutton to complete the assignment.