Accessing and Verifying an Instance
This document explains how to connect to a newly created instance and check its operational status.
After launching an instance, you can verify its proper operation and perform initial configuration tasks.
Establishing SSH Connection
Verify the Key Pair File

- Open the terminal and navigate to the directory where the downloaded key pair file (*.pem or id_rsa) is located.
ls -al | grep *.pemls -al | grep id_rsa
Connect to the Instance via SSH
- Command:
ssh -i [keypair_file].pem [username]@[external_IP] - Example:
ssh -i test.pem ubuntu@192.168.103.91
Terminate SSH Session
- Type
exitin the terminal to close the connection.
Checking System Status
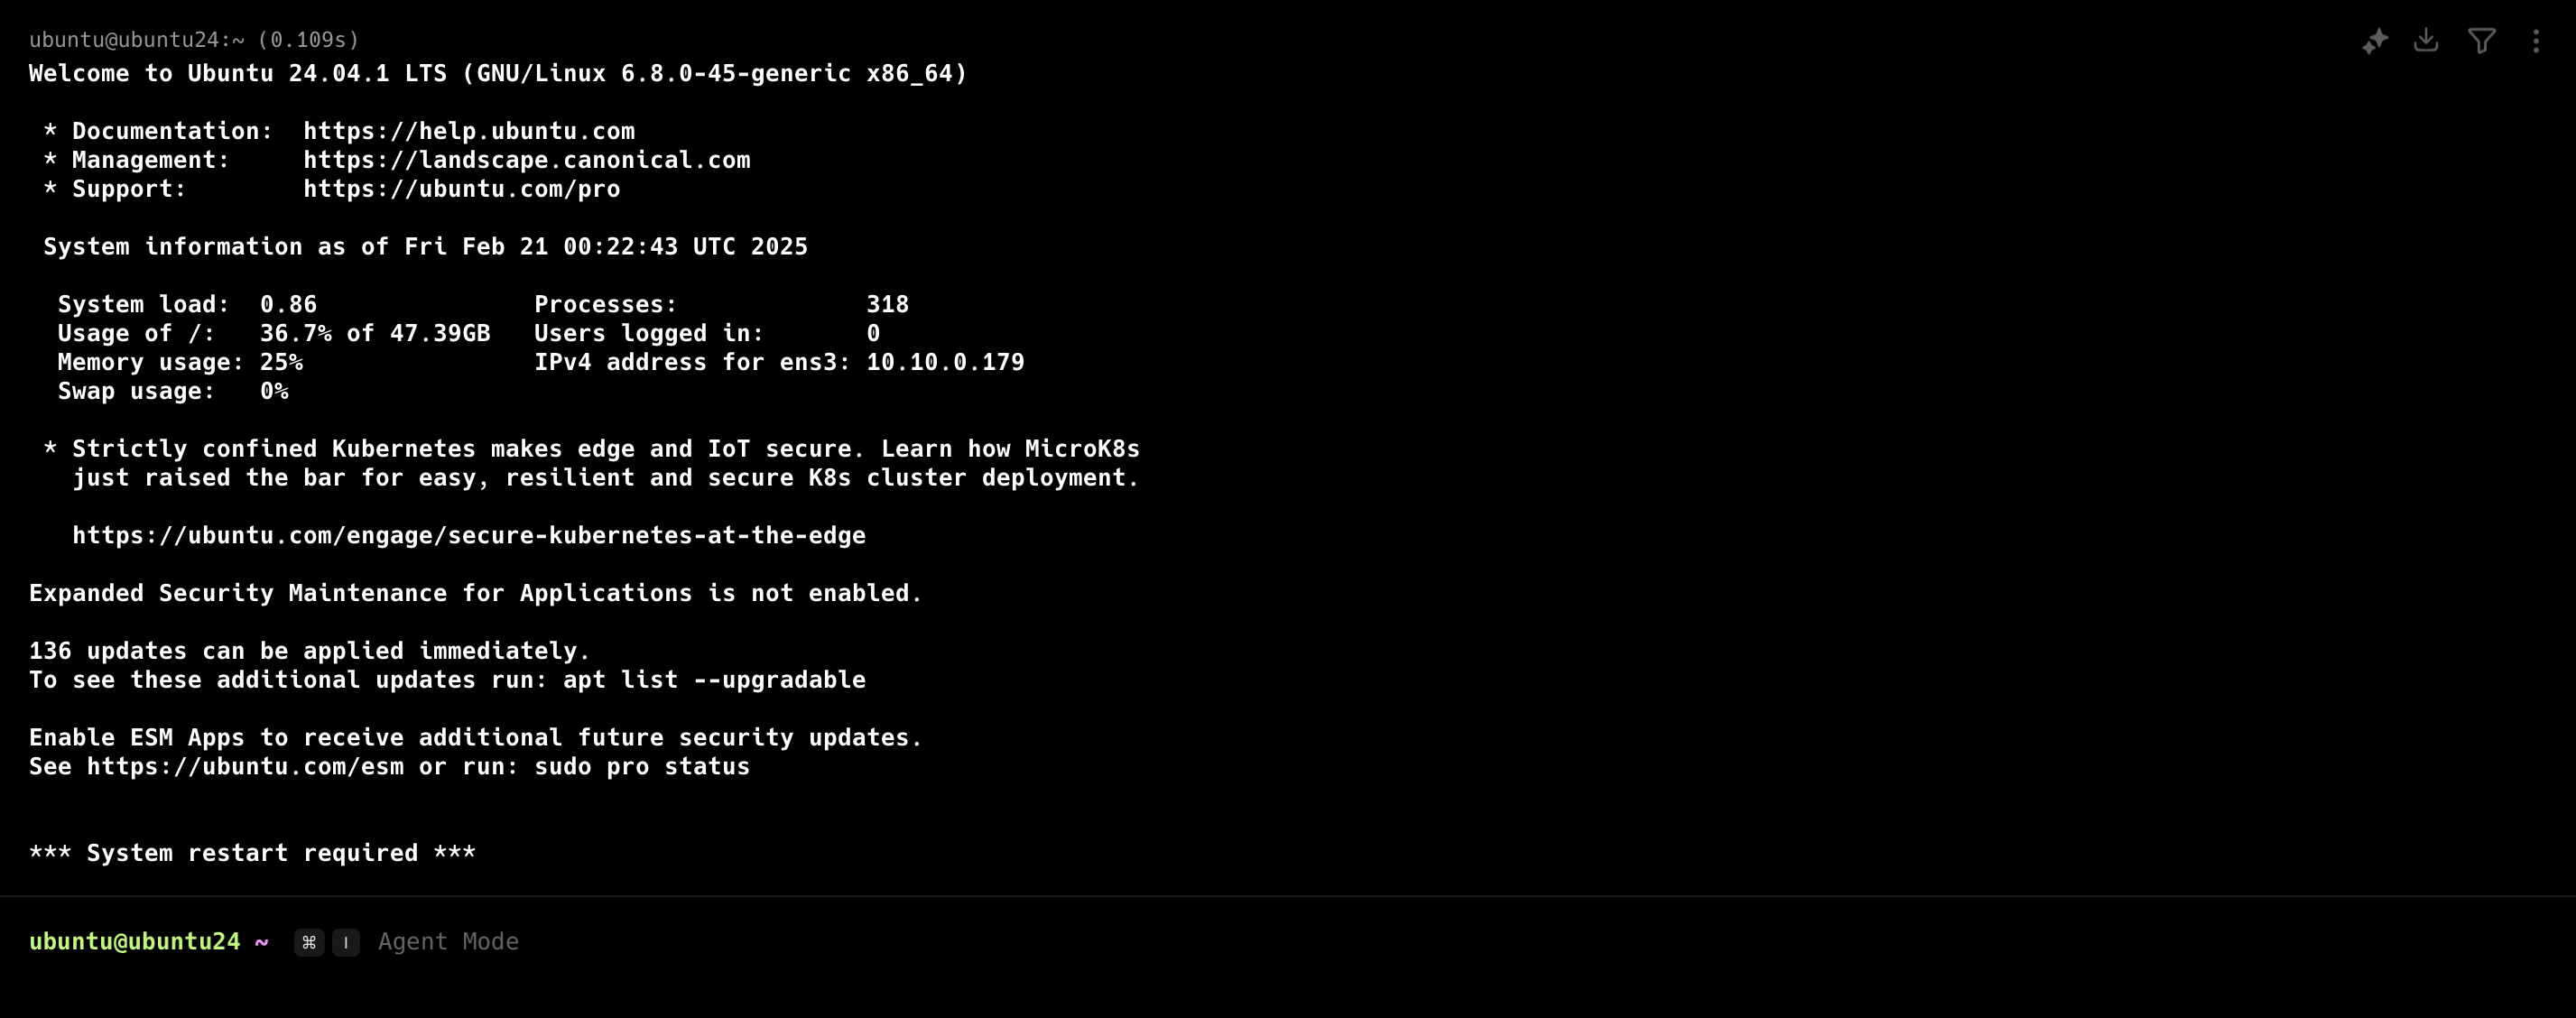
Once connected to the instance, you can use the following commands to verify the system specifications and status.
Check Basic System Information

- Operating System Info:
cat /etc/os-release
Check System Resources
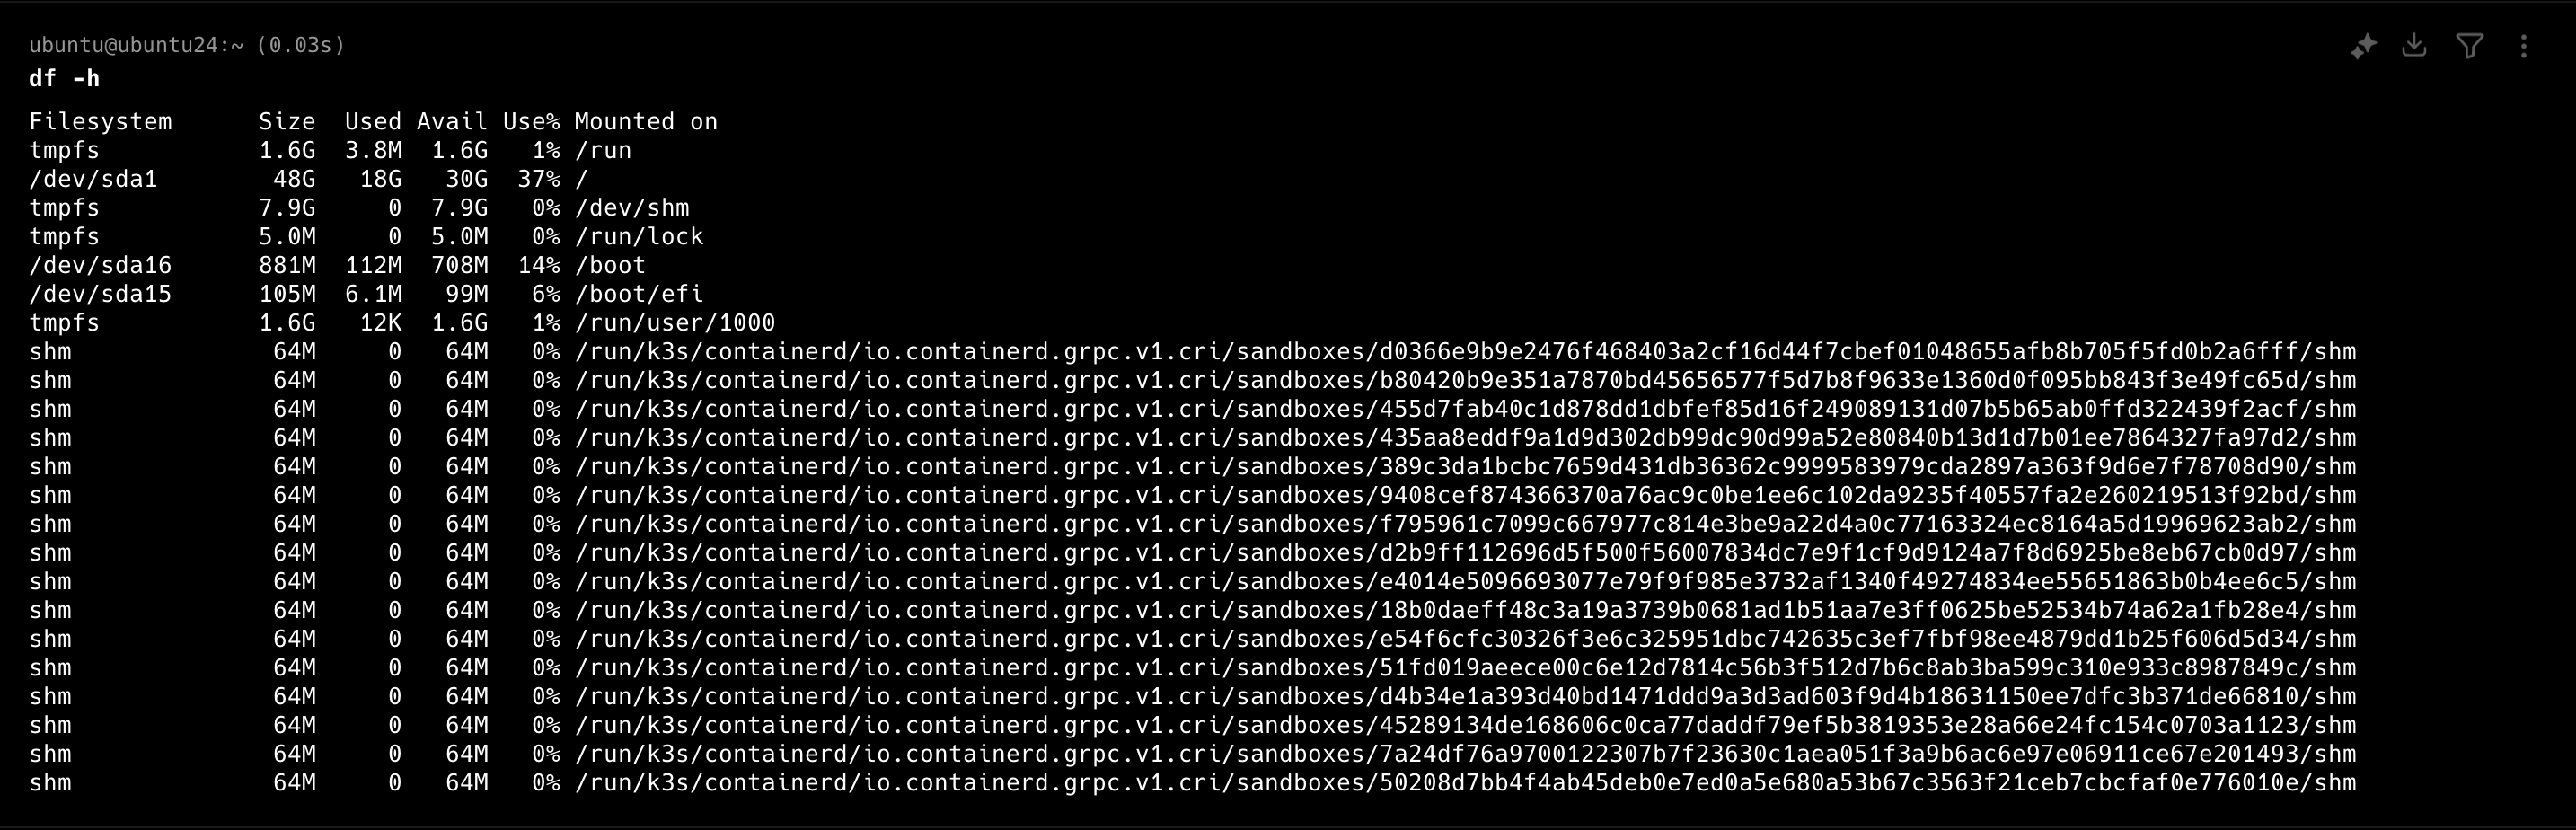
- Disk Usage:
df -h - Memory Usage:
free -h
Check Network Connection

- External IP Check:
curl ifconfig.co
Troubleshooting SSH Connection Failures
If SSH connection fails, check the following items.
Key File Issues
- Confirm that the key file exists
- Ensure the correct file path is used
- Check permission settings (must be 400)
- To change permissions:
chmod 400 keypair_file.pem
- To change permissions:
Network Issues
- Make sure SSH port (22) is open in the security group
- Confirm that an external IP is assigned and reachable
- Check that the instance is currently running